Gather Your Materials
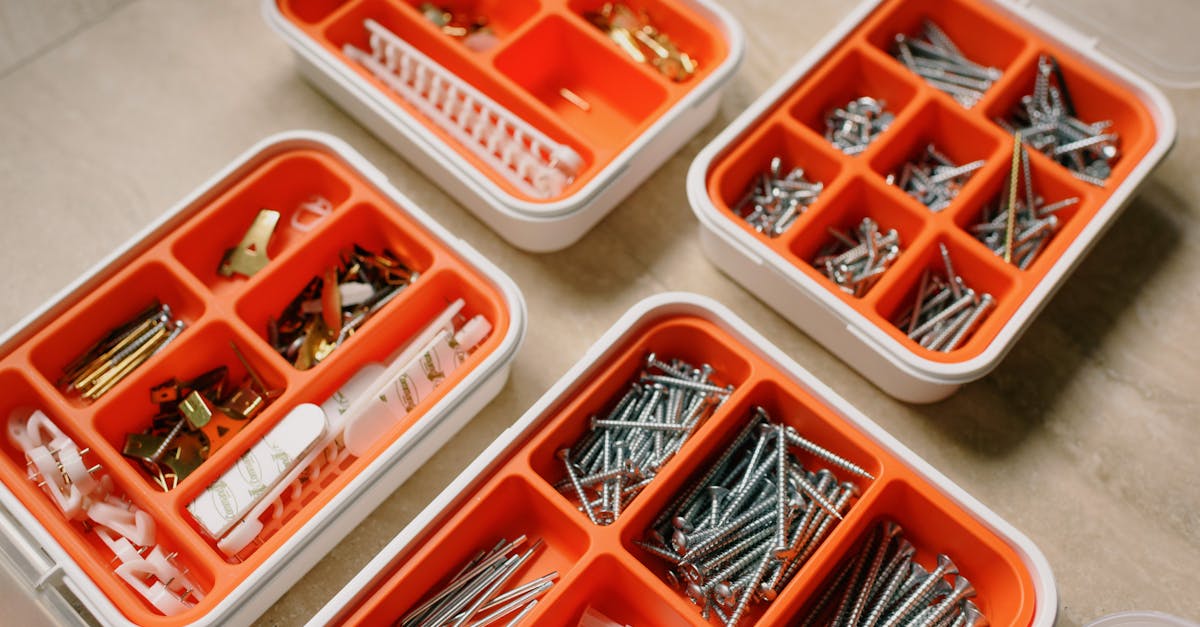
First, gather your materials: a lightweight plastic bag, dowel rods, string, tape, and markers. These are inexpensive and easy to find. It’s wise to prep everything beforehand so your children stay engaged and excited. Remember, the process is the fun part! Reuse items you already have to keep costs low and conversations high with nifty ideas like using old gift wrap for the sail.

Include a captivating image of the materials needed for the DIY project.
Prepare the Frame
Next up, prepare the frame. Lay your dowel rods in a cross and tape them securely at the center. Making sure it’s balanced is key. Involve your kids; it’s a great learning moment. Explain the importance of symmetry in a simple way. My five-year-old always insists on his ‘superhero strength’ to hold the rods, and it never fails to boost his confidence.

Attach the Sail
Now, let’s attach the sail. Cut the plastic bag into a diamond shape larger than your frame. Secure the edges around the frame with tape or glue. Encourage your child to help cutting—carefully, of course! Relate this task to wrapping a gift, making the process feel familiar and fun. My daughter, an aspiring artist, always draws a ‘pilot’ who’ll ‘steer’ the kite.

Add the Tail and String
It’s time to add the tail and string. Cut a long strip of plastic bag for the tail to provide stability. Tie it to the bottom of the frame, and add the string to the cross-section. Reinforce these connections well. My son once made a kite with a ridiculously long tail, calling it ‘The Comet’. It didn’t fly well but the giggles were worth it!
Link to the image used: View image
Personalize Your Kite
Personalize your kite. Use markers, stickers, or whatever craft supplies you have to decorate. This step lets creativity soar. Ask your child to name their kite—it adds an emotional connection. We had one kite named ‘Speedy’ and it turned into a whole saga of imaginary adventures. The more invested they are, the more cherished the memory.

Test Fly and Troubleshoot
Time to test fly and troubleshoot. Head to your nearest open space with minimal obstacles. Start with a light run and observe. Adjust the tail length if needed or make sure the string is properly attached. Be prepared for some crashes—it’s all part of the learning. Share stories of your own kite mishaps to reassure them. My ‘Swoosh’ hit a tree once, and we still laugh about it!

Emotional Benefits and Interaction
Making kites brings numerous emotional benefits. It teaches perseverance and provides a sense of accomplishment. Plus, sharing this activity can enhance parent-child bonding.
Encourage readers to share their kite-making stories in the comments. Did your kids name their kites? Any hilarious fails? Let’s laugh and learn together.

