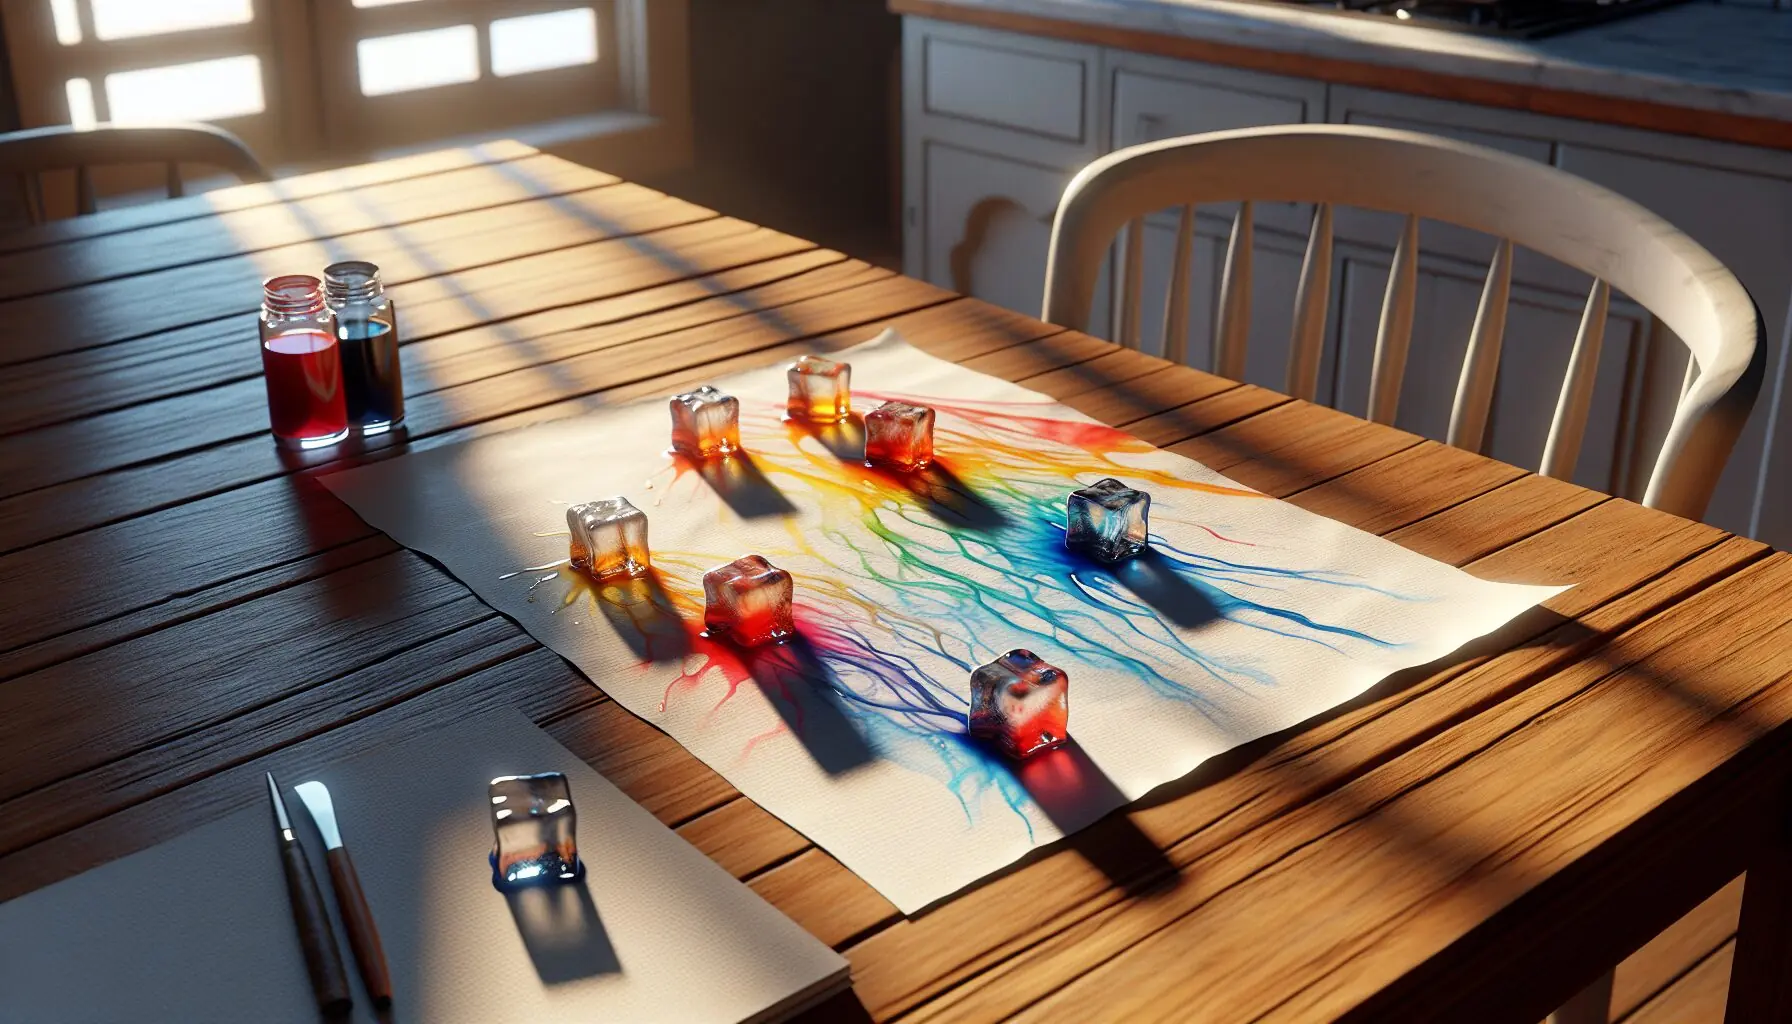
Unleashing Creativity with Frozen Colors
Do you want to embark on a delightful exploration adventure with your child? Let’s dive into a world where melting ice transforms into an artistic masterpiece. Ice Painting is a magical way to explore colors, creativity, and the science of melting—all while creating art!
With this fun activity, you and your child will make memories as you watch the vibrant colors blend and flow. It’s a win-win: creative mess-making and learning about states of matter all rolled into one.

Step-by-Step Guide to Ice Painting
Gear up for some icy fun! Here’s how you can transform your kitchen into a creative lab:
- Materials Needed:
- Small ice cube tray
- Food coloring (variety of colors)
- Water
- White sheet of paper or canvas
- Craft sticks for handles
- Instructions:
- Fill each section of the ice tray with water, adding a few drops of different food coloring to each.
- Insert a craft stick into each section as a handle.
- Freeze until solid (approximately 3 hours).
- Once ready, pop the colored ice cubes out and ‘paint’ on the paper/canvas, watching vibrant colors spread as the ice melts.
- Adaptation Tips:
- Get creative! Use salt to speed up melting or choose textured paper for different effects.

Discovering Science and Growth through Play
Ice Painting isn’t just about making art; it’s a wonderful science and sensory exploration tool. Children learn about color mixing, the physical change of melting ice, and refine their hand-eye coordination. As they paint, they engage in scientific inquiry by hypothesizing how colors will blend and predicting the ice’s melting path.
It’s also a perfect opportunity for emotional bonding as they share joyous discoveries with you. Encourage them to express what they see and feel, fostering not just curiosity, but also communication skills.
By transforming simple materials into educational fun, you lay the foundation for lifelong learning.

